I’m posting this in dedication to this Mazda 323 my boyfriend dedicated many many years to. She has been parked up rusting away for the last five years until she found a new home in Lithuania this week rather than being scrapped.
Another reason I’m sharing this post is because it inspires to me. It shows that if you have a vision and passion for something you can make it happen no matter what. It also shows me that it’s important to be brave and not care what anyone thinks of you for being different.
I hope you enjoy this blog post written by my boyfriend – he didn’t even know he was blogging when he wrote this back in 2007! You can also find the original post here.
As promised here is a photo diary showing the extreme makeover of my 323F!
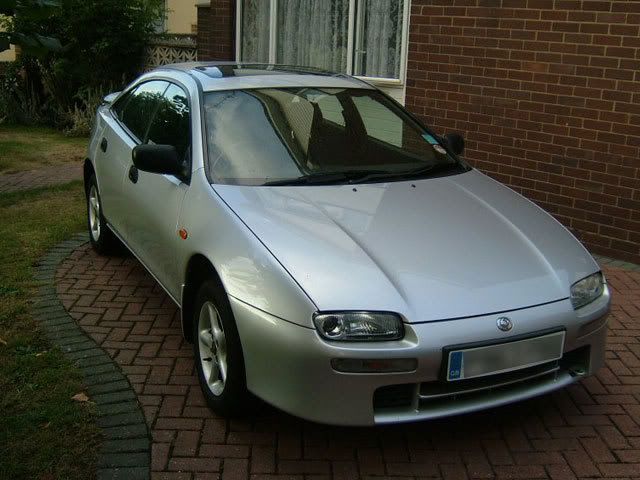
1. I haven’t got any pictures of what my car looked like when it was standard but I have got pictures of my 1.8Executive which looked similar enough except it didn’t have the side spats, front lip and door protectors.


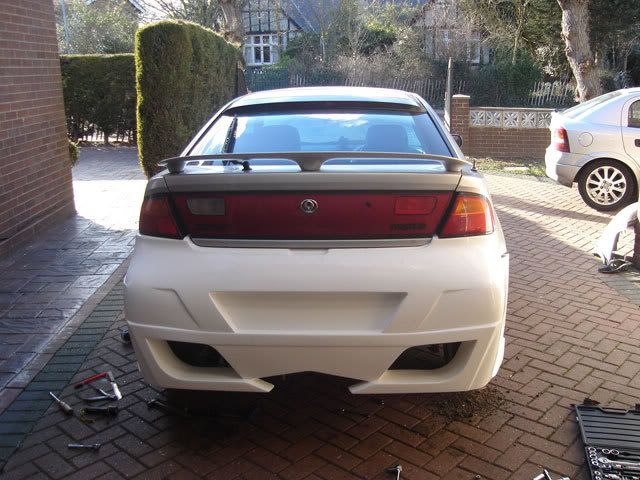
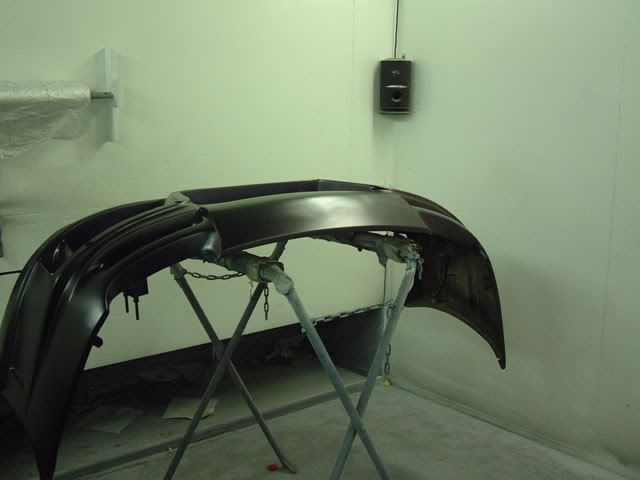
2. The first thing I did was change the rear bumper on the car. At first it didn’t fit as the brackets were too long but with a little cutting here and there I got it to fit snugly.
3. A little while after just having bought the car, I found out that the exhaust had a hole in it, so I decided to get my custom exhaust made to match with my new bumper.
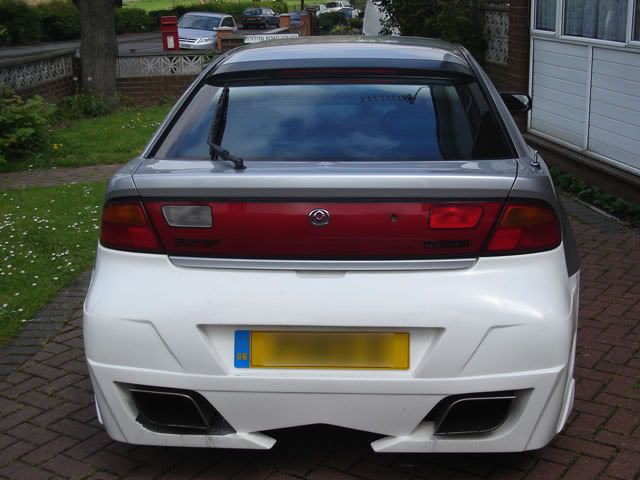
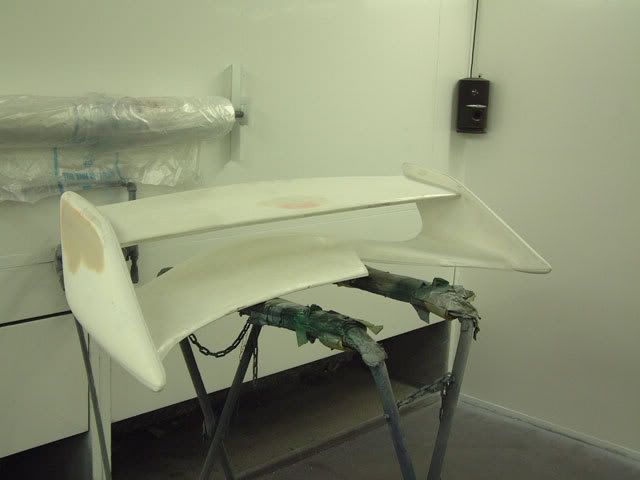
4. As the bumper stuck out a little more than the standard bumper, I decided to go for a spoiler that would compliment it and line up with it too.
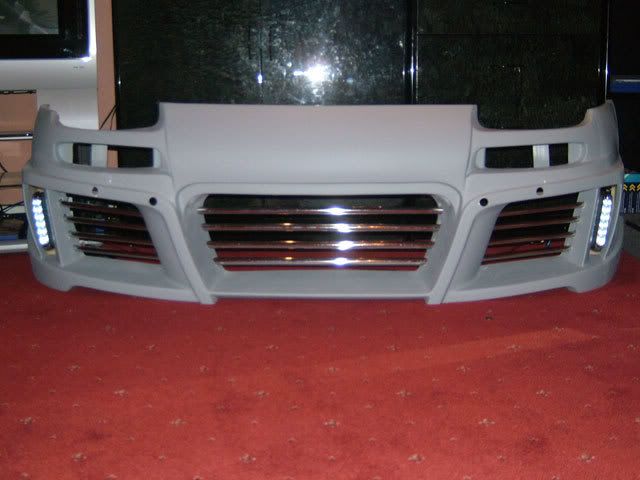
5. Next I moved on to the front of the car and removed the existing bumper.
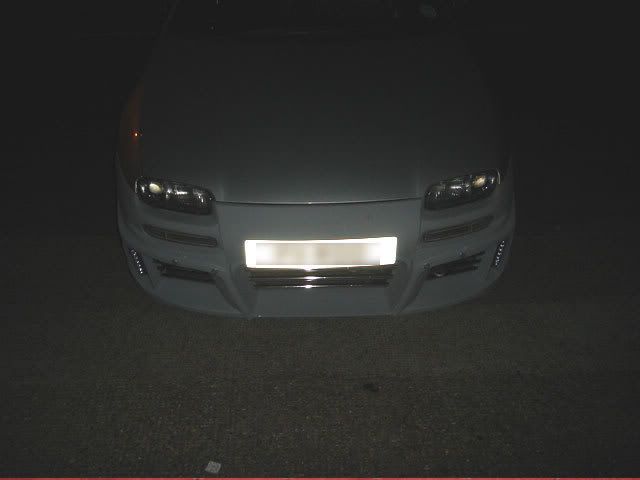
I then prepared my new front bumper with bars, L.E.D fog lights and holes for parking sensors.
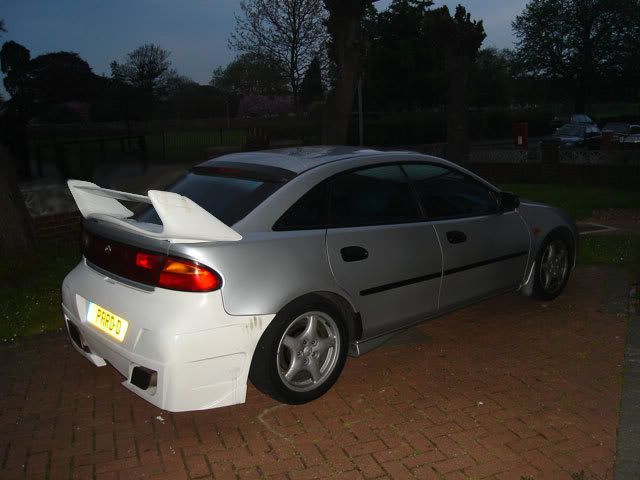
I didn’t have any pictures of what the new bumper looked like during the day, but I think you can get the idea from this picture taken in the dark.
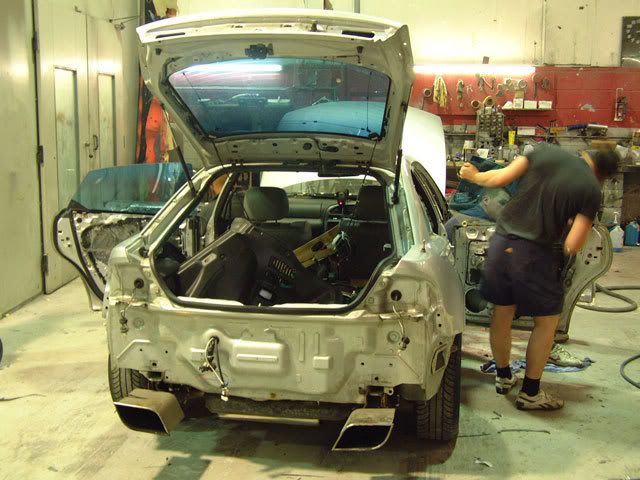
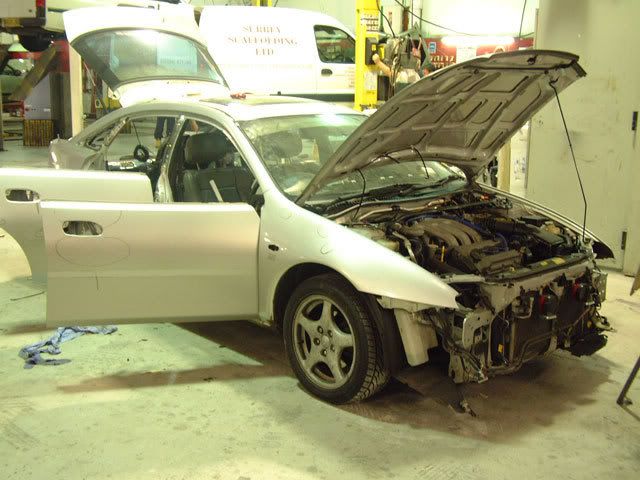
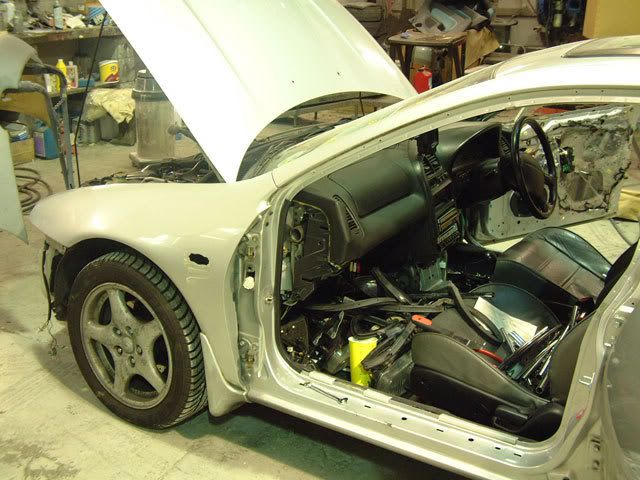
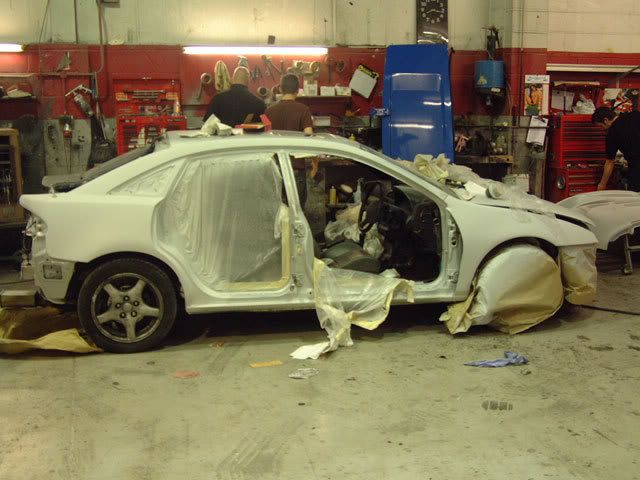
6. At this point the car was now ready to go to the spray shop and be re-sprayed. All doors, window glass, trims etc were removed.
(Car marked for existing imperfections)
(Side indicators removed to be closed off)
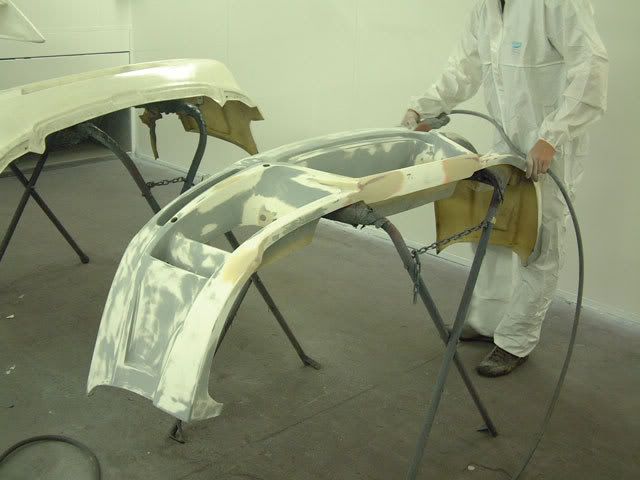
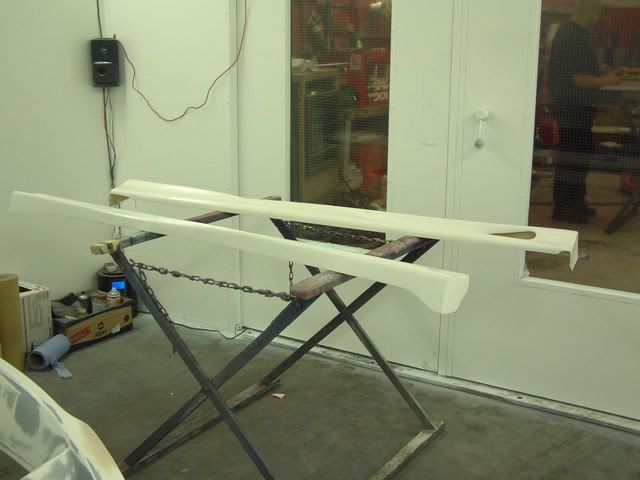
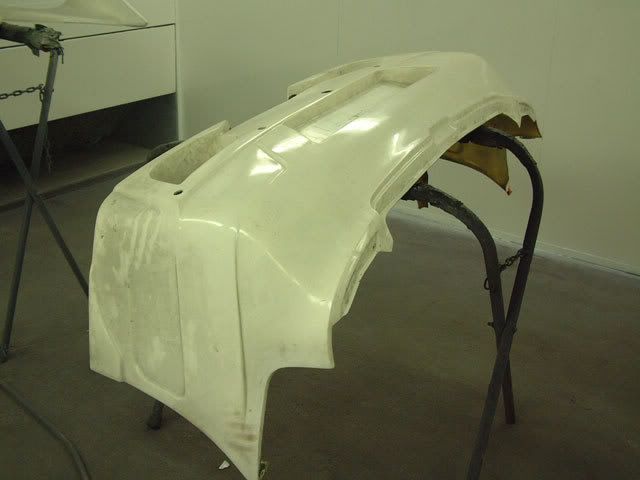
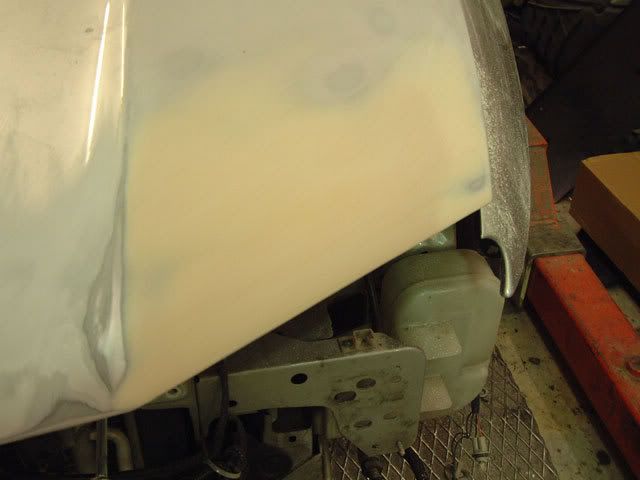
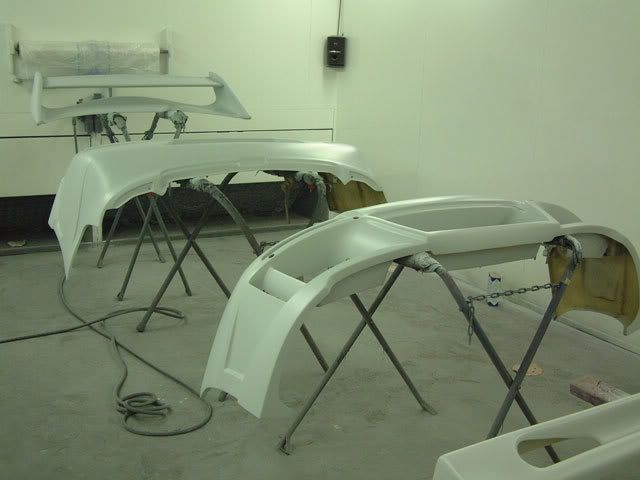
7. Before the car could be re-spayed the bumpers, side skirts and spoiler had to be prepped.
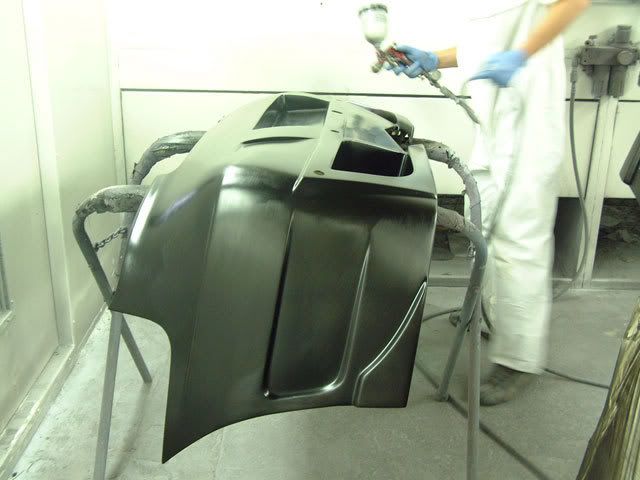
8. Plates were welded to the bonnet to achieve the “Bad-Boy” bonnet effect.
9. The car and all other trimmings were now ready to be primed.

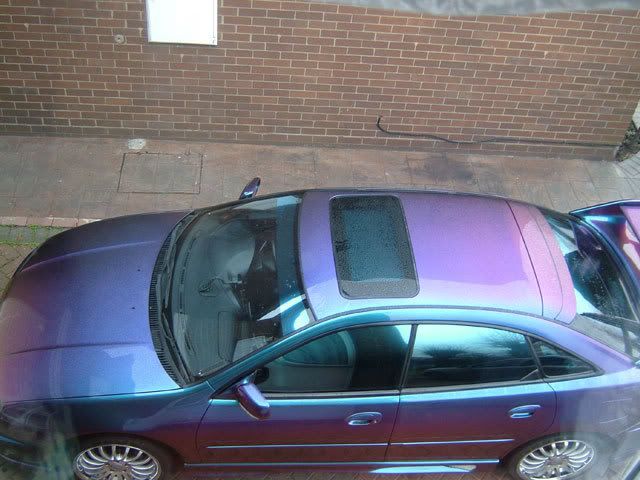
10. As I was using a flip paint everything had to be painted with a black base coast, this helped ensure the final colour achieved maximum flip.
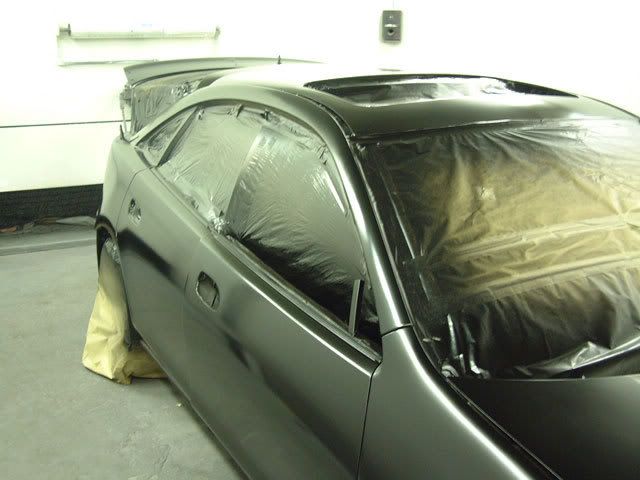
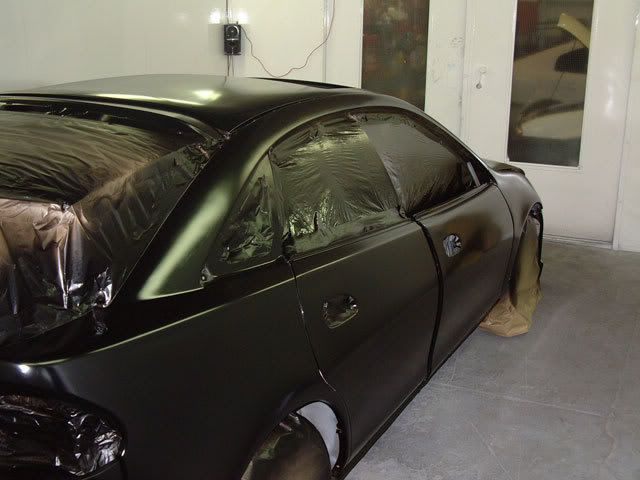
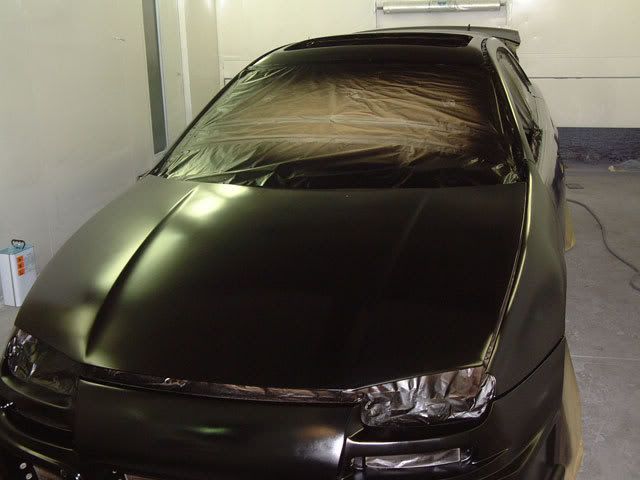
11. After a few hours the car was ready to receive a couple of coats paint.

12. … … … to be continued!
– – – – – – – – – – – – – – – – – – – – – – – – – – – – – – – – – – – – – – – – – – – – – – – – – – – – – – – – – – – – – – – – – – – – – – –
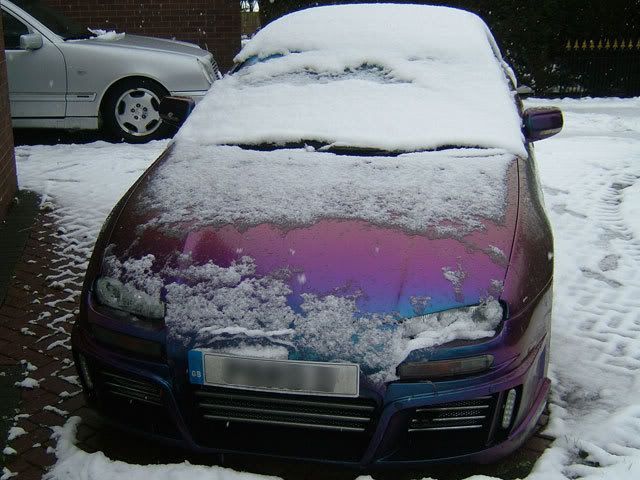
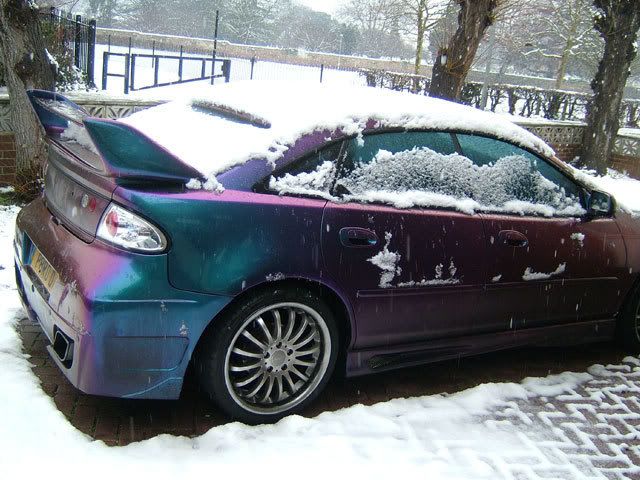
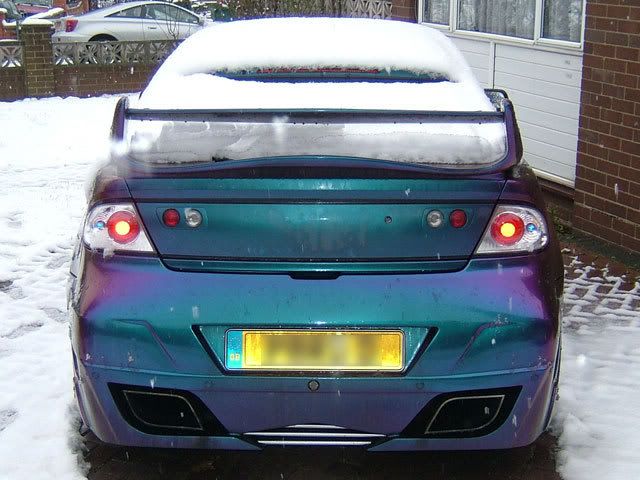
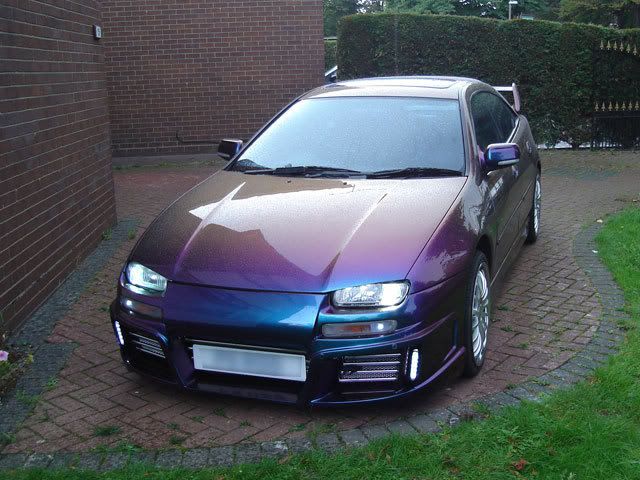
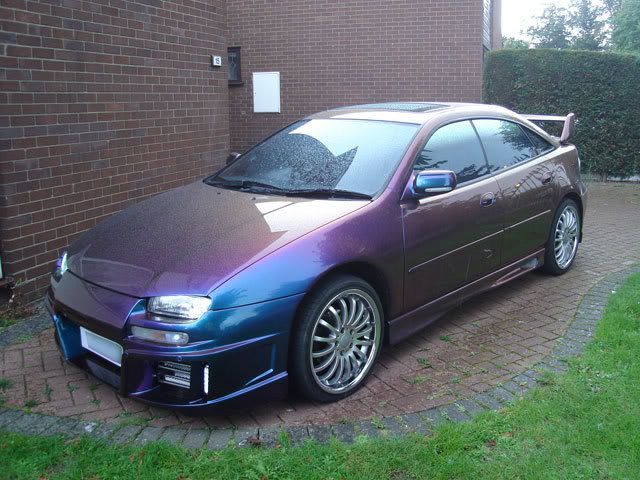
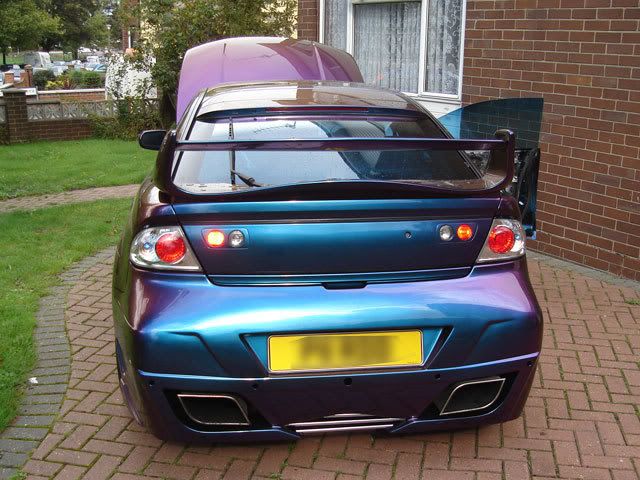
… … … I was waiting to wash the car and the weather to clear up to take some final pictures of the car but as everyone is eager to see the final look, I’ve included some pictures of when the car was nearly finished. I still had to position the number plate on the front bumper somewhere else and still had the rear-view camera and parking sensors to put back in.
(It was raining a little on the day)
(In the recent snow)